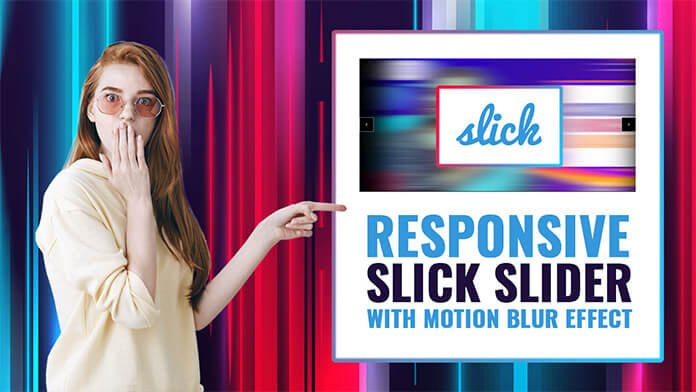
Hello, guys in this article we will create an awesome Slick Slider With Motion Blur Effect using HTML CSS, and JavaScript.
Slick Slider Features:
- Fully responsive.
- Scales with its container.
- Separate settings per breakpoint
- Uses CSS3 when available.
- Fully functional when not.
- Swipe enabled. Or disabled, if you prefer.
- Desktop mouse dragging
- Infinite looping.
- Fully accessible with arrow key navigation Add, remove, filter & unfilter slides Autoplay, dots, arrows, callbacks, etc…
How to create an awesome slick slider?
Step 1: — Creating a New Project
The first thing we’ll do is create a folder that will contain all of the files that make up the project. Create an empty folder on your devices and name it “as you want”.
Open up Visual Studio Code or any Text editor which is you liked, and create files(index.html, style.css main.js) inside the folder which you have created for slick slider. In the next step, we will start creating the basic structure of the webpage.
Step 2: — Setting Up the basic structure
In this step, we will add the HTML code to create the basic structure of the project.
<!DOCTYPE html>
<html lang="en">
  <head>
    <meta charset="UTF-8" />
    <title>Motion Blur Effect</title>
    <meta name="viewport" content="width=device-width, initial-scale=1.0" />
    <meta https-equiv="X-UA-Compatible" content="ie=edge" />
    <link rel="stylesheet" href="style.css" />
    <link rel="stylesheet" type="text/css" href="https://cdn.jsdelivr.net/jquery.slick/1.6.0/slick.css">
    <script src="https://cdnjs.cloudflare.com/ajax/libs/jquery/3.2.1/jquery.min.js"></script>
    <script src="https://cdn.jsdelivr.net/jquery.slick/1.6.0/slick.min.js"></script>
  </head>
  <body>

       <script src="main.js"></script>
  </body>
</html>
This is the base structure of most web pages that use HTML.
Add the following code inside the <body> tag:
<svg id="Layer">
      <defs>
        <filter id="blur0">
          <feGaussianBlur in="SourceGraphic" stdDeviation="0 0">
        </filter>
        <filter id="blur1">
          <feGaussianBlur in="SourceGraphic" stdDeviation="5 0">
        </filter>
        <filter id="blur2">
          <feGaussianBlur in="SourceGraphic" stdDeviation="10 0">
        </filter>
        <filter id="blur3">
          <feGaussianBlur in="SourceGraphic" stdDeviation="20 0">
        </filter>
        <filter id="blur4">
          <feGaussianBlur in="SourceGraphic" stdDeviation="30 1">
        </filter>
        <filter id="blur5">
          <feGaussianBlur in="SourceGraphic" stdDeviation="50 1">
        </filter>
      </defs>
    </svg>
    <div class="slider">
      <div class="slide"><img src="01.jpg"></div>
      <div class="slide"><img src="02.jpg"></div>
      <div class="slide"><img src="03.jpg"></div>
      <div class="slide"><img src="04.jpg"></div>
      <div class="slide"><img src="05.jpg"></div>
      <div class="slide"><img src="06.jpg"></div>
    </div>
Step 3: — Adding Styles for the Classes
In this step, we will add CSS code for style our html elements.
* {
  padding: 0;
  margin: 0;
  outline: 0;
}
body {
  display: flex;
  align-items: center;
  justify-content: center;
  height: 100vh;
  overflow: hidden;
  background-color: #000;
}
button {
    position: fixed;
    top: 50%;
    z-index: 10;
    width: 70px;
    height: 70px;
    background-color: #000 !important;
    overflow: hidden;
    transform: translateY(-50%);
    outline: 0;
    border: 1px solid #fff;
    cursor: pointer;
    background-repeat: no-repeat;
    background-position: center;
    text-indent: -99999px;
}
button.slick-prev {
    left: 0;
    background-image: url(data:image/svg+xml;base64,PHN2ZyB2ZXJzaW9uPSIxLjEiIHhtbG5zPSJodHRwOi8vd3d3LnczLm9yZy8yMDAwL3N2ZyIgd2lkdGg9IjI0IiBoZWlnaHQ9IjI0IiB2aWV3Qm94PSIwIDAgMjQgMjQiPjx0aXRsZT5jaGV2cm9uLWxlZnQ8L3RpdGxlPjxwYXRoIGZpbGw9IiNmZmZmZmYiIGQ9Ik0xMC40MTMgMTJsNS4yOTQtNS4yOTRjMC4zODctMC4zODcgMC4zODctMS4wMjUgMC0xLjQxM3MtMS4wMjUtMC4zODctMS40MTMgMGwtNiA2Yy0wLjM4NyAwLjM4Ny0wLjM4NyAxLjAyNSAwIDEuNDEzbDYgNmMwLjE5NCAwLjE5NCAwLjQ1IDAuMjk0IDAuNzA2IDAuMjk0czAuNTEzLTAuMSAwLjcwNi0wLjI5NGMwLjM4Ny0wLjM4NyAwLjM4Ny0xLjAyNSAwLTEuNDEzbC01LjI5NC01LjI5NHoiPjwvcGF0aD48L3N2Zz4=);
}
button.slick-next {
    right: 0;
    background-image: url(data:image/svg+xml;base64,PHN2ZyB2ZXJzaW9uPSIxLjEiIHhtbG5zPSJodHRwOi8vd3d3LnczLm9yZy8yMDAwL3N2ZyIgd2lkdGg9IjI0IiBoZWlnaHQ9IjI0IiB2aWV3Qm94PSIwIDAgMjQgMjQiPjx0aXRsZT5jaGV2cm9uLXJpZ2h0PC90aXRsZT48cGF0aCBmaWxsPSIjZmZmZmZmIiBkPSJNMTUuNzA2IDExLjI5NGwtNi02Yy0wLjM4Ny0wLjM4Ny0xLjAyNS0wLjM4Ny0xLjQxMyAwcy0wLjM4NyAxLjAyNSAwIDEuNDEzbDUuMjk0IDUuMjk0LTUuMjk0IDUuMjk0Yy0wLjM4NyAwLjM4Ny0wLjM4NyAxLjAyNSAwIDEuNDEzIDAuMTk0IDAuMTk0IDAuNDUgMC4yOTQgMC43MDYgMC4yOTRzMC41MTMtMC4xIDAuNzA2LTAuMjk0bDYtNmMwLjM5NC0wLjM4NyAwLjM5NC0xLjAyNSAwLTEuNDEzeiI+PC9wYXRoPjwvc3ZnPg==);
}
.slick-list {
    overflow: visible;
    will-change: transform;
}
.slick-list {
    overflow: visible;
    will-change: transform;
}
.slick-slide {
    padding: 0 100px;
    width: 100vw;
    filter: drop-shadow(0px 10px 40px rgba(0,0,0,0.50) );
}
.slick-slide img {
    width: 100%;
    max-width: 100%;
    margin: 0 auto;
}

@keyframes motion-blur {
    0% {
        filter: url(#blur0);
        transform: scale(1, 1);
    }
    15% {
        filter: url(#blur1);
        transform: scale(1, 0.98);
    }
    30% {
        filter: url(#blur2);
        transform: scale(1, 0.93);
    }
    45% {
        filter: url(#blur3);
        transform: scale(1.1, 0.90);
    }
    60% {
        filter: url(#blur4);
        transform: scale(1.2, 0.88);
    }
    75%,100% {
        filter: url(#blur5);
        transform: scale(1.35, 0.85);
    }

}
.do-tans {
    animation: motion-blur 0.1s linear forwards,
            motion-blur 0.5s linear reverse forwards 0.1s;
}
Step 4 — Adding JavaScript code
In this step, we will add some JavaScript code in main.js file
$(".slider").slick({
  attrow: true,
  dots: false,
  speed: 500,
  infinite: true,
  centerMode: true,
  variableWidth: true,
  draggable: false,
  slidesToShow:1
});
$(".slider")
.on("beforeChange", function(event, slick, currentSlide, nextSlide) {
  $(".slick-list").addClass("do-tans");
})
.on("afterChange", function() {
  $(".slick-list").removeClass("do-tans");
})
#Final Result
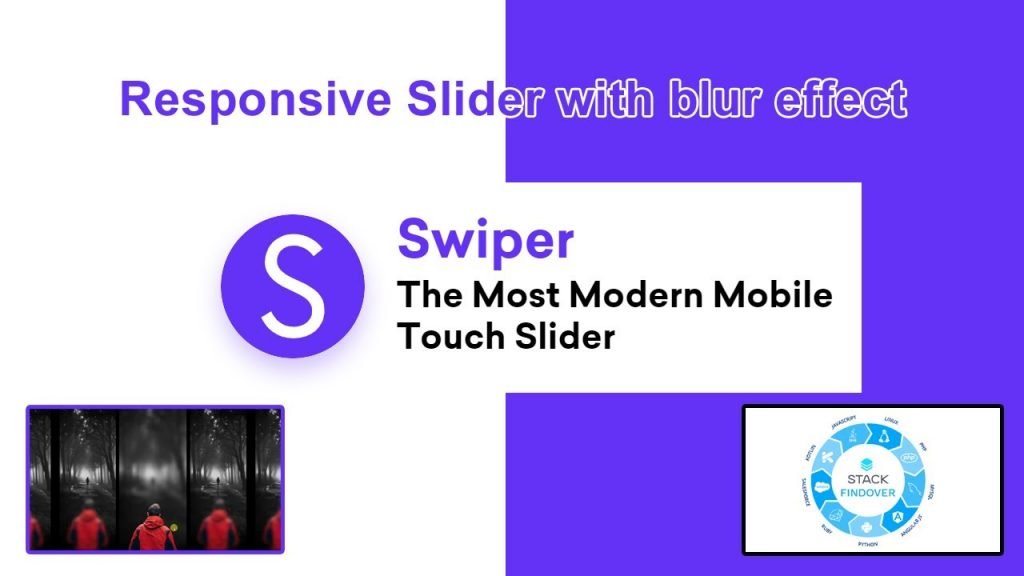
Responsive slider with blur effect using swiper js
Hello guys in this tutorial we will create an responsive slider with blur effect using swiper js
Best Collection of Slick Slider Codepen Examples
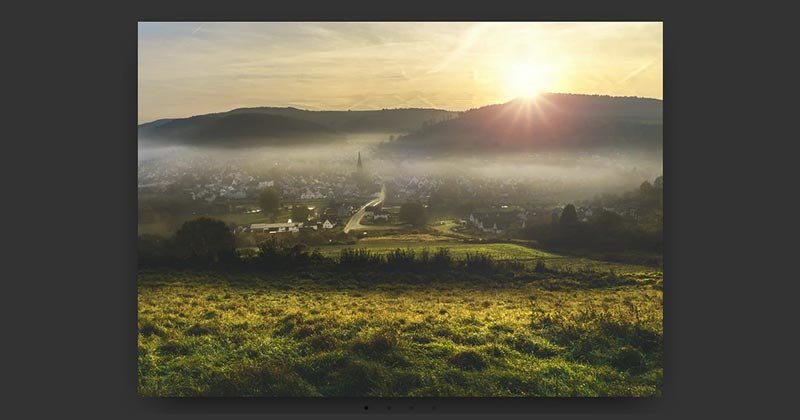
#1: Slick carousel slider

Slick carousel slider, which was developed by Ellie Sadler. Moreover, you can customize it according to your wish and need.
| Author: | Ellie Sadler |
| Created on: | OCTOBER 12, 2015 |
| Made with: | HTML, CSS & JS |
| Demo Link: | Source Code / Demo |
| Tags: | Slick carousel slider |
#2: Simple animated slider with Slick.js
Simple animated slider with Slick.js, which was developed by Alexandre Buffet. Moreover, you can customize it according to your wish and need.
| Author: | Alexandre Buffet |
| Created on: | JANUARY 31, 2017 |
| Made with: | HTML, CSS(Less) & JS |
| Demo Link: | Source Code / Demo |
| Tags: | Simple animated Slick slider |
#3: Slick Slider with Progress Bar

Slick Slider with Progress Bar, which was developed by Stephen Flannery. Moreover, you can customize it according to your wish and need.
| Author: | Stephen Flannery |
| Created on: | MAY 26, 2016 |
| Made with: | HTML, CSS & JS |
| Demo Link: | Source Code / Demo |
| Tags: | Slick Slider with Progress Bar |
#4: Slick Slider Fade Zoom Animation
Slick Slider Fade Zoom Animation, which was developed by Fabio Ottaviani. Moreover, you can customize it according to your wish and need.
| Author: | Fabio Ottaviani |
| Created on: | JULY 29, 2016 |
| Made with: | HTML, CSS(SCSS) & JS |
| Demo Link: | Source Code / Demo |
| Tags: | Slick Slider Fade Zoom Animation |
#5: Responsive testimonial Slick slider
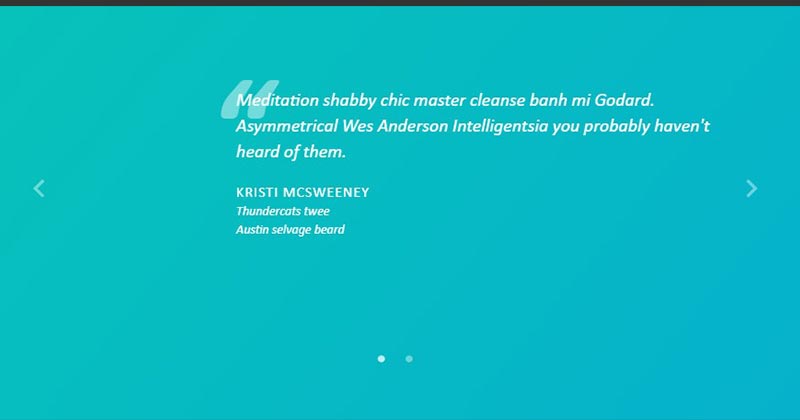
Responsive testimonial Slick slider, which was developed by hellokatili. Moreover, you can customize it according to your wish and need.
| Author: | hellokatili |
| Created on: | JULY 9, 2015 |
| Made with: | HTML(Haml), CSS(SCSS) & JS |
| Demo Link: | Source Code / Demo |
| Tags: | Responsive testimonial Slick slider |
#6: Vertical Slick Slider

Vertical Slick Slider, which was developed by Cory Schadt. Moreover, you can customize it according to your wish and need.
| Author: | Cory Schadt |
| Created on: | JUNE 17, 2017 |
| Made with: | HTML, CSS(SCSS) & JS |
| Demo Link: | Source Code / Demo |
| Tags: | Vertical Slick Slider |
#7: Animated Slick Slider

Animated Slick Slider, which was developed by AaronMcGuire. Moreover, you can customize it according to your wish and need.
| Author: | AaronMcGuire |
| Created on: | SEPTEMBER 19, 2019 |
| Made with: | HTML, CSS(SCSS) & JS |
| Demo Link: | Source Code / Demo |
| Tags: | Animated Slick Slider |
#8: Slick slider animation with animate.css
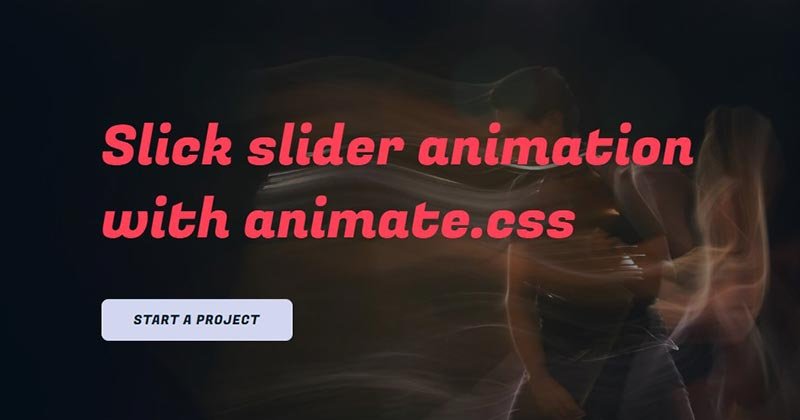
Slick slider animation with animate.css, which was developed by Ankit Hingarajiya. Moreover, you can customize it according to your wish and need.
| Author: | Ankit Hingarajiya |
| Created on: | SEPTEMBER 18, 2019 |
| Made with: | HTML, CSS & JS |
| Demo Link: | Source Code / Demo |
| Tags: | Slick slider animation |
#9: Slick Slider With Slice Animation
Slick Slider With Slice Animation, which was developed by Fabio Ottaviani. Moreover, you can customize it according to your wish and need.
| Author: | Fabio Ottaviani |
| Created on: | JULY 19, 2016 |
| Made with: | HTML, CSS(SCSS) & JS |
| Demo Link: | Source Code / Demo |
| Tags: | Slick Slider With Slice Animation |
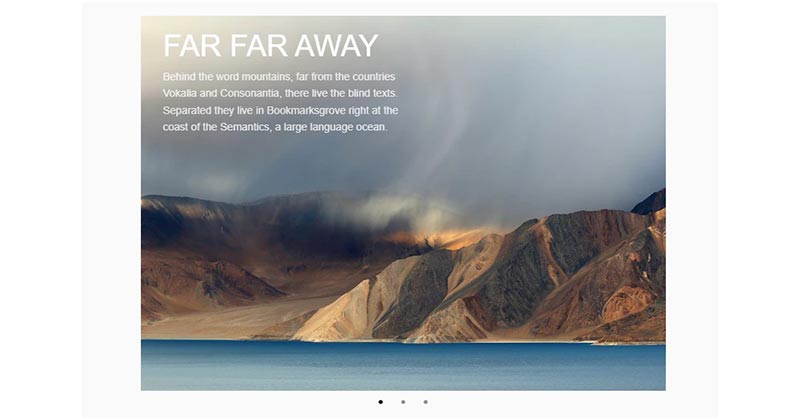
#10: HTML5 Slick Slider

HTML5 Slick Slider, which was developed by Wilson. Moreover, you can customize it according to your wish and need.
| Author: | Wilson |
| Created on: | MARCH 15, 2020 |
| Made with: | HTML, CSS & JS |
| Demo Link: | Source Code / Demo |
| Tags: | HTML5 Slick Slider |
If you liked this article Awesome Slick Slider examples, you should check out this one CSS Horizontal Accordion Slider examples


![Masonry Grid [ 12 Best CSS Masonry Layout Examples ]](https://blog.stackfindover.com/wp-content/uploads/2021/10/Masonry-Grid-1024x576.jpg)