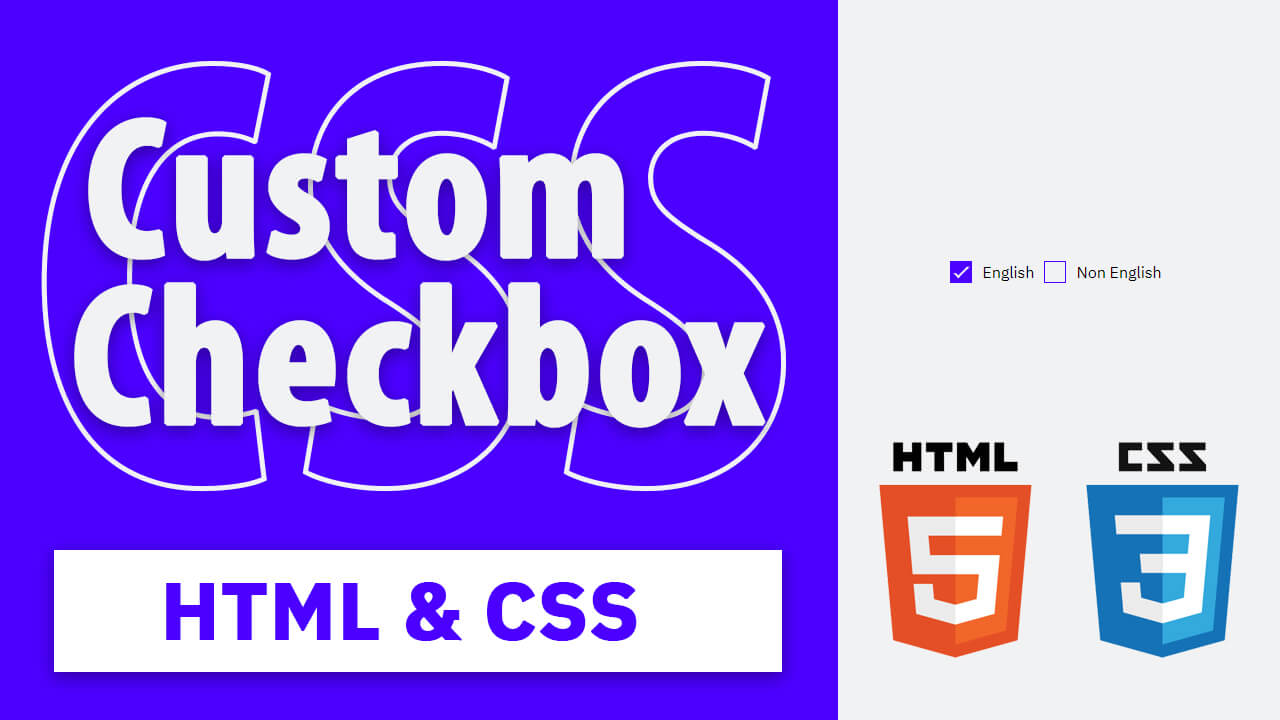
Hello guys in this tutorial we will create custom checkbox HTML and CSS
First we need to create two files index.html and style.css then we need to do code for it.
Step:1
Add below code inside index.html
<!DOCTYPE html>
<html lang="en">
  <head>
    <meta charset="UTF-8" />
    <title>Simple check box</title>
    <meta name="viewport" content="width=device-width, initial-scale=1.0" />
    <meta https-equiv="X-UA-Compatible" content="ie=edge" />
    <link rel="stylesheet" href="style.css" />
    <link href="https://fonts.googleapis.com/css2?family=IBM+Plex+Sans&display=swap" rel="stylesheet">
  </head>
  <body>
    <div class="lang-selector">
      <div class="flex-field">
        <input type="radio" name="lang" value="eng" id="english">
        <label for="english"></label>
        <span class="label">English</span>
      </div>
      <div class="flex-field">
        <input type="radio" name="lang" value="noneng" id="nonenglish">
        <label for="nonenglish"></label>
        <span class="label">Non English</span>
      </div>
    </div>
  </body>
</html>
Step:2
Then we need to add code for style.css which code i provide in below screen.
* {
  padding: 0; margin: 0;
  font-family: 'IBM Plex Sans', sans-serif;
}
body {
    display: flex;
    align-items: center;
    justify-content: center;
    height: 100vh;
    background: #f1f2f3;
}
input[type="radio"] {
    display: none;
}
input[type="radio"] + label {
    display: inline-block;
    width: 20px;
    height: 20px;
    border: 1px solid #4b00ff;
    position: relative;
    cursor: pointer;
}
input[type="radio"] + label:after {
    content: "";
    position: absolute;
    width: 3px;
    height: 12px;
    left: 0;
    right: 0;
    top: 0;
    margin: auto;
    transform: rotate(45deg);
    border: 2px solid #f1f2f3;
    border-top-color: transparent;
    border-left-color: transparent;
}
input[type="radio"]:checked + label {
    background: #4b00ff;
}
.lang-selector,
.flex-field {
    display: flex;
    align-items: center;
    grid-gap: 10px;
}

