In the fast-paced world of the internet, every second counts when it comes to website loading speed. Slow websites not only frustrate users but also rank lower on search engine result pages.
Fortunately, there are several techniques to boost your website’s speed, and one of the most effective methods is enabling GZIP compression. In this article, we will explore what GZIP compression is and how you can easily implement it in your WordPress website.
What is GZIP Compression?
GZIP compression is a method that reduces the size of files transmitted over the internet. It works by compressing web page files on the server before sending them to the user’s browser. Once the compressed files reach the browser, they are decompressed and displayed to the user. This process significantly reduces the time it takes to load a web page.
Why Should You Enable GZIP Compression?
Before we delve into the steps of enabling GZIP compression in WordPress, let’s understand why it’s essential.
#01: Faster Loading Times
With GZIP compression, your website’s files are smaller and quicker to download. This leads to faster loading times, which can enhance the user experience and reduce bounce rates.
#02: Improved SEO Ranking
Search engines like Google consider website speed as a ranking factor. Faster websites tend to rank higher in search results, which can increase your website’s visibility and traffic.
#03: Reduced Bandwidth Usage
GZIP compression reduces the amount of data transferred between the server and the user’s device. This not only speeds up your website but also saves on bandwidth costs, particularly if you have a high-traffic site.
How to Enable GZIP Compression in WordPress (2 Methods)
Now that we understand the benefits of GZIP compression, let’s go through the steps to enable it on your WordPress website.
Method 1: Enable GZIP Compression using Editing .htaccess File
#01: Check if GZIP Compression is Already Enabled
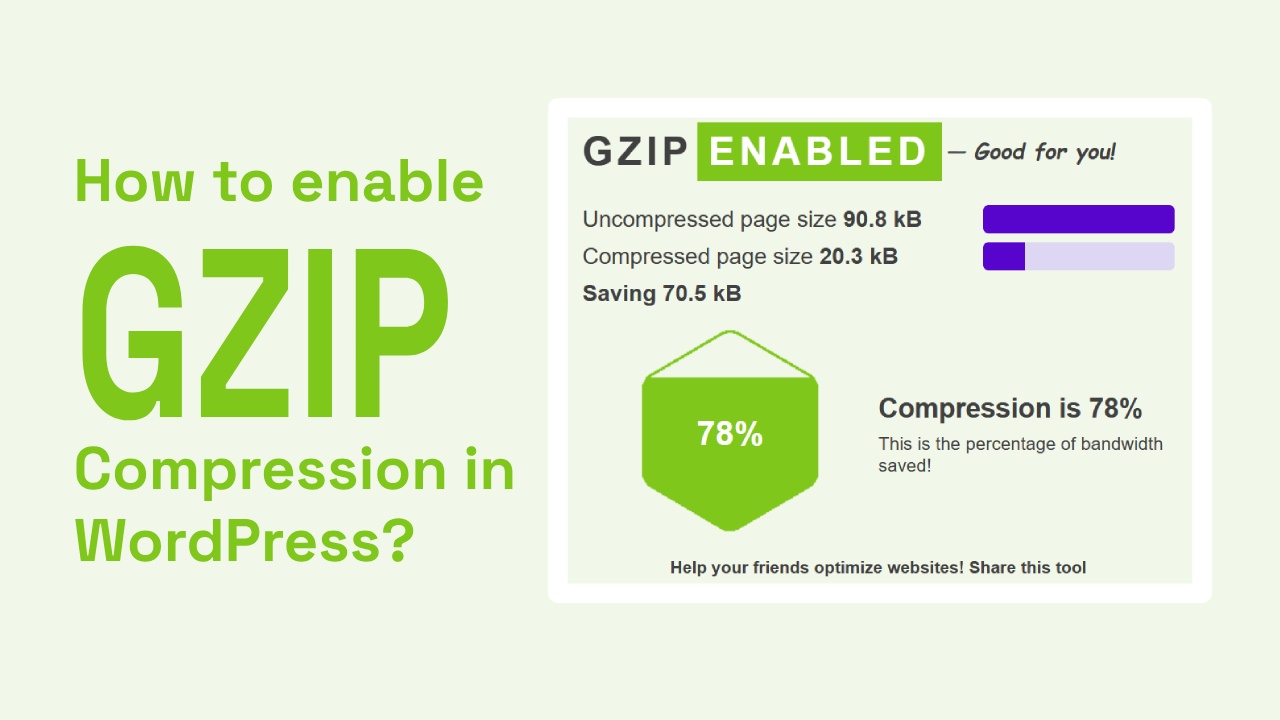
Before you proceed, it’s a good idea to check if GZIP compression is already active on your server. You can use online tools like the “Check GZIP Compression” tool to verify this.
#02: Access Your Website’s .htaccess File
To enable GZIP compression, you’ll need to edit your website’s .htaccess file. You can access this file through your website’s cPanel or via FTP (File Transfer Protocol).
#03: Edit the .htaccess File
Once you have access to the .htaccess file, open it in a text editor. You’ll need to add the following code to enable GZIP compression:
<IfModule mod_deflate.c>
  # Compress HTML, CSS, JavaScript, Text, XML, and fonts
  AddOutputFilterByType DEFLATE application/javascript
  AddOutputFilterByType DEFLATE application/rss+xml
  AddOutputFilterByType DEFLATE application/vnd.ms-fontobject
  AddOutputFilterByType DEFLATE application/x-font
  AddOutputFilterByType DEFLATE application/x-font-opentype
  AddOutputFilterByType DEFLATE application/x-font-otf
  AddOutputFilterByType DEFLATE application/x-font-truetype
  AddOutputFilterByType DEFLATE application/x-font-ttf
  AddOutputFilterByType DEFLATE application/x-javascript
  AddOutputFilterByType DEFLATE application/xhtml+xml
  AddOutputFilterByType DEFLATE application/xml
  AddOutputFilterByType DEFLATE font/opentype
  AddOutputFilterByType DEFLATE font/otf
  AddOutputFilterByType DEFLATE font/ttf
  AddOutputFilterByType DEFLATE image/svg+xml
  AddOutputFilterByType DEFLATE image/x-icon
  AddOutputFilterByType DEFLATE text/css
  AddOutputFilterByType DEFLATE text/html
  AddOutputFilterByType DEFLATE text/javascript
  AddOutputFilterByType DEFLATE text/plain
  AddOutputFilterByType DEFLATE text/xml

  # Remove browser bugs (only needed for really old browsers)
  BrowserMatch ^Mozilla/4 gzip-only-text/html
  BrowserMatch ^Mozilla/4\.0[678] no-gzip
  BrowserMatch \bMSIE !no-gzip !gzip-only-text/html
  Header append Vary User-Agent
</IfModule>
#04: Save the .htaccess File
After adding the code, save the .htaccess file and upload it back to your server.
#05: Test GZIP Compression
To ensure GZIP compression is working correctly, you can use online tools like the “Check GZIP Compression” tool again. It should confirm that GZIP compression is now enabled on your website.
Method 2: Enable GZIP Compression Using a Plugin
To enable GZIP compression on your WordPress site, you’ll need a reliable plugin. Fortunately, there are many great options out there, both free and paid. Here are a few popular ones to consider:
1. WP Fastest Cache
WP Fastest Cache is a user-friendly plugin that simplifies the process of enabling GZIP compression. With just a few clicks, you can significantly improve your website’s loading speed.
2. W3 Total Cache
W3 Total Cache is a comprehensive caching plugin that also includes GZIP compression features. It’s a bit more advanced but offers a range of customization options.
3. WP Super Cache
WP Super Cache is another fantastic option for beginners. It’s easy to set up and provides GZIP compression as well as other performance-boosting features.
4. WP Rocket
WP Rocket is a premium plugin known for its excellent performance optimization features, including GZIP compression. If you’re serious about speeding up your site, it’s worth the investment.
Installing and Activating Your Chosen Plugin
Once you’ve selected a plugin, it’s time to install and activate it. Here’s a step-by-step guide:
Step 1: Log in to Your WordPress Dashboard
Go to your website’s dashboard by entering your domain followed by “/wp-admin” (e.g., www.yourwebsite.com/wp-admin) in your web browser.
Step 2: Navigate to the Plugins Section
In the dashboard, find the “Plugins” section on the left-hand menu and click on it.
Step 3: Add New Plugin
Click on the “Add New” button at the top of the Plugins page.
Step 4: Search for Your Chosen Plugin
In the search bar on the right, type in the name of the plugin you’ve chosen (e.g., “WP Fastest Cache”).
Step 5: Install and Activate
Once you see your chosen plugin in the search results, click the “Install Now” button, and then activate it.
Configuring GZIP Compression
Now that your plugin is active, it’s time to configure GZIP compression:
Step 1: Locate Plugin Settings
In your WordPress dashboard, find the plugin you installed on the left-hand menu. Usually, it will have its own tab, such as “WP Fastest Cache” or “W3 Total Cache.”
Step 2: Enable GZIP Compression
Look for the option to enable GZIP compression within the plugin settings. It might be labeled as “Performance” or “Page Cache.” Once you find it, enable GZIP compression.
Step 3: Save Changes
Don’t forget to save your changes. Usually, you’ll find a “Save” or “Apply” button at the bottom of the plugin settings page.
Testing Your Website’s Speed
After enabling GZIP compression, it’s essential to test your website’s speed to ensure it’s working correctly. There are several online tools available, such as Google’s PageSpeed Insights and GTmetrix. Simply enter your website’s URL, and these tools will analyze your site’s performance and provide suggestions for improvement.
Conclusion
Enabling GZIP compression in WordPress is a simple yet powerful way to enhance your website’s loading speed. With faster loading times, improved SEO ranking, and reduced bandwidth usage, your website will not only perform better but also provide a better user experience. Follow the steps outlined in this article to boost your website’s performance and stay ahead in the competitive online landscape.
FAQs
GZIP compression is supported by most web hosting providers. However, it’s always a good idea to check with your hosting company to ensure it’s enabled or if there are any specific configurations needed.
No, GZIP compression only affects the size of text-based files and scripts, not images. Your images will retain their quality.
No, you don’t need advanced coding skills. The provided code snippet can be added to your .htaccess file with basic editing knowledge.
Yes, you can easily disable GZIP compression by removing the added code from your .htaccess file.
It’s a good practice to periodically check if GZIP compression is still active, especially after making significant changes to your website or server configurations.