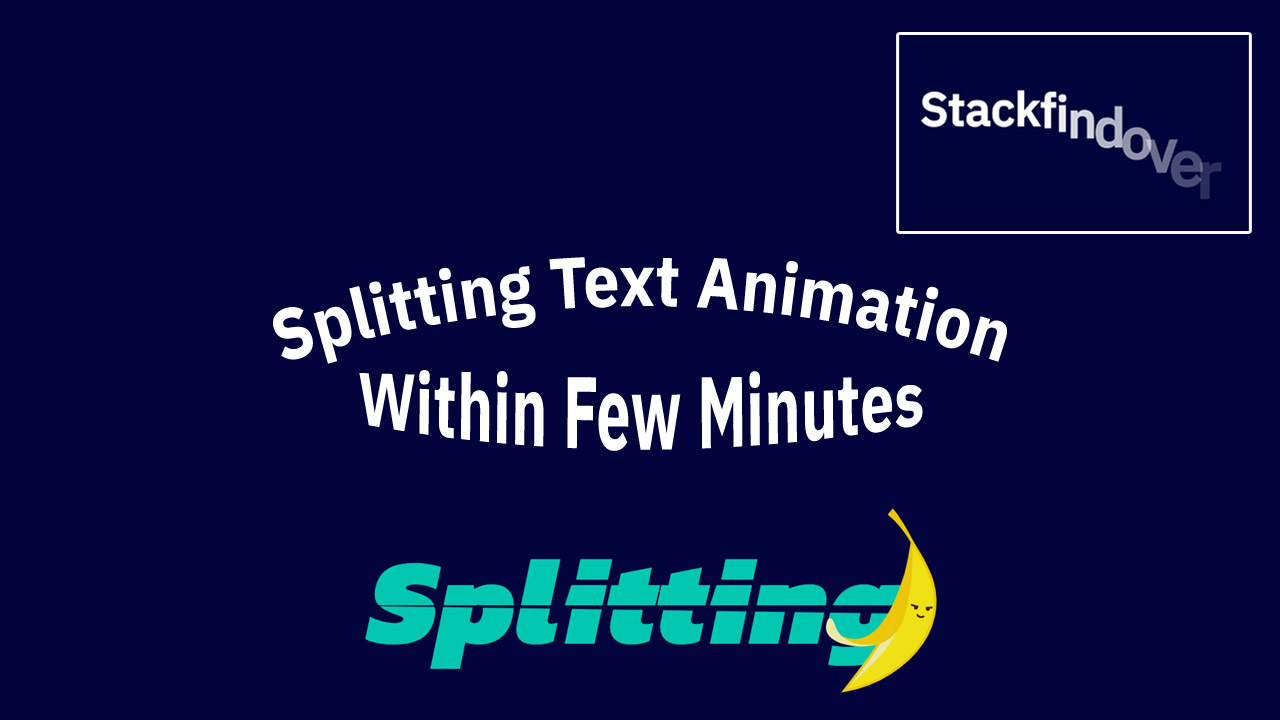
Hello guys in this tutorial we will create splitting text animation using splitting.js within few minutes 😉
Splitting Text Animation Step by Step Guide
Step 1 — Creating a New Project
In this step, we need to create a new project folder and files (index.html, style.css) for creating a Splitting Animation. In the next step, you will start creating the structure of the webpage.
Step 2 — Setting Up the basic structure
In this step, we will add the HTML code to create the basic structure of the project.
<!DOCTYPE html>
<html>
<head>
  <meta charset="utf-8">
  <title>Spliting Animation</title>
  <link rel="stylesheet" type="text/css" href="style.css">
  <link href="https://fonts.googleapis.com/css2?family=IBM+Plex+Sans:wght@400;500&family=IBM+Plex+Serif:wght@300;400&display=swap" rel="stylesheet">

  <!--- splitting --->
  <link rel="stylesheet" href="https://unpkg.com/splitting/dist/splitting.css" />
  <link rel="stylesheet" href="https://unpkg.com/splitting/dist/splitting-cells.css" />
  <script src="https://unpkg.com/splitting/dist/splitting.min.js"></script>

</head>
<body>

</body>
</html>
This is the base structure of most web pages that use HTML.
Add the following code inside the <body> tag:
<h1 data-splitting>Stackfindover</h1>
<script> Splitting(); </script>
Step 3 — Adding Styles for the Classes
In this step, we will add styles to the section class Inside style.css file
* {
    padding: 0;
    margin: 0;
    font-family: 'IBM Plex Sans', serif;
}
body {
    background: #00043c;
    color: #fff;
    display: flex;
    align-items: center;
    justify-content: center;
    height: 100vh;
    overflow: hidden;
}
h1 {
    font-size: 150px;
}
.splitting .char {
    animation: slide-in 0.7s ease-in-out both;
    animation-delay: calc(60ms * var(--char-index));
}
@keyframes slide-in {
    from {
        transform: scale(1.5) translateY(90%);
        opacity: 0;
    }
}


